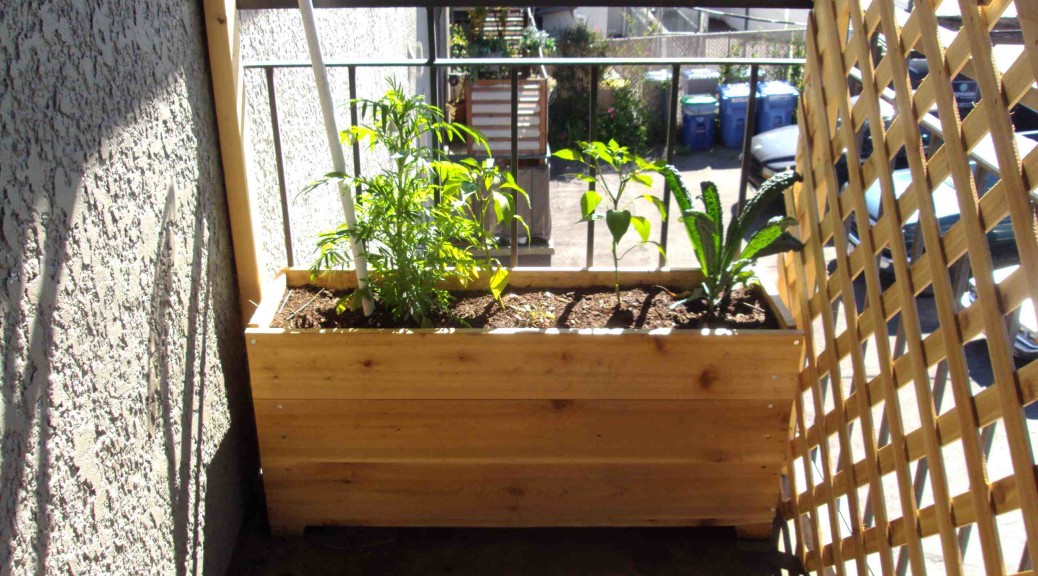
In my last post, I described the changes I had made to my balcony to increase the amount of “nature” in my apartment to provide a more soothing and relaxing environment. As part of that, my friend and I made a bare cedar self-wicking planter with a waterproof basin in the bottom. The basin holds just over 25 litres of water, and contains multiple soil ‘contact points’ so that the water will wick up into the soil and keep the plants watered. I got the idea from Jesse Lemieux (of Pacific Permaculture). He made a video of him using plastic containers to make a very similar planter that uses this concept. It was definitely cheaper and easier to do than what I did, but I wanted the bare wood to create a nice environment for myself.
Here’s what I did (with Chris Gordon, of course):
The basic idea is you have a basin of water at the bottom, and there are containers with holes in the bottom that sit in the basin (and thus fill with water). These containers in the basin provide a surface to mount a mesh/landscape cloth combo. You cut a few holes in the mesh/landscape cloth, and fill a few of the containers with dirt. This dirt then sits in the water, but is separate from the basin itself (the containers separate the dirt and water – only the holes let through water, and maybe a little dirt). The wet “dirt columns”, which are the contact points, keep the soil for the plants above it wet through the capillary action of water. That capillary action is the “wicking up” of the self-wicking planter. Check these photos below (note: I wish I had taken more photos. I wasn’t thinking about a blog post at the time!).
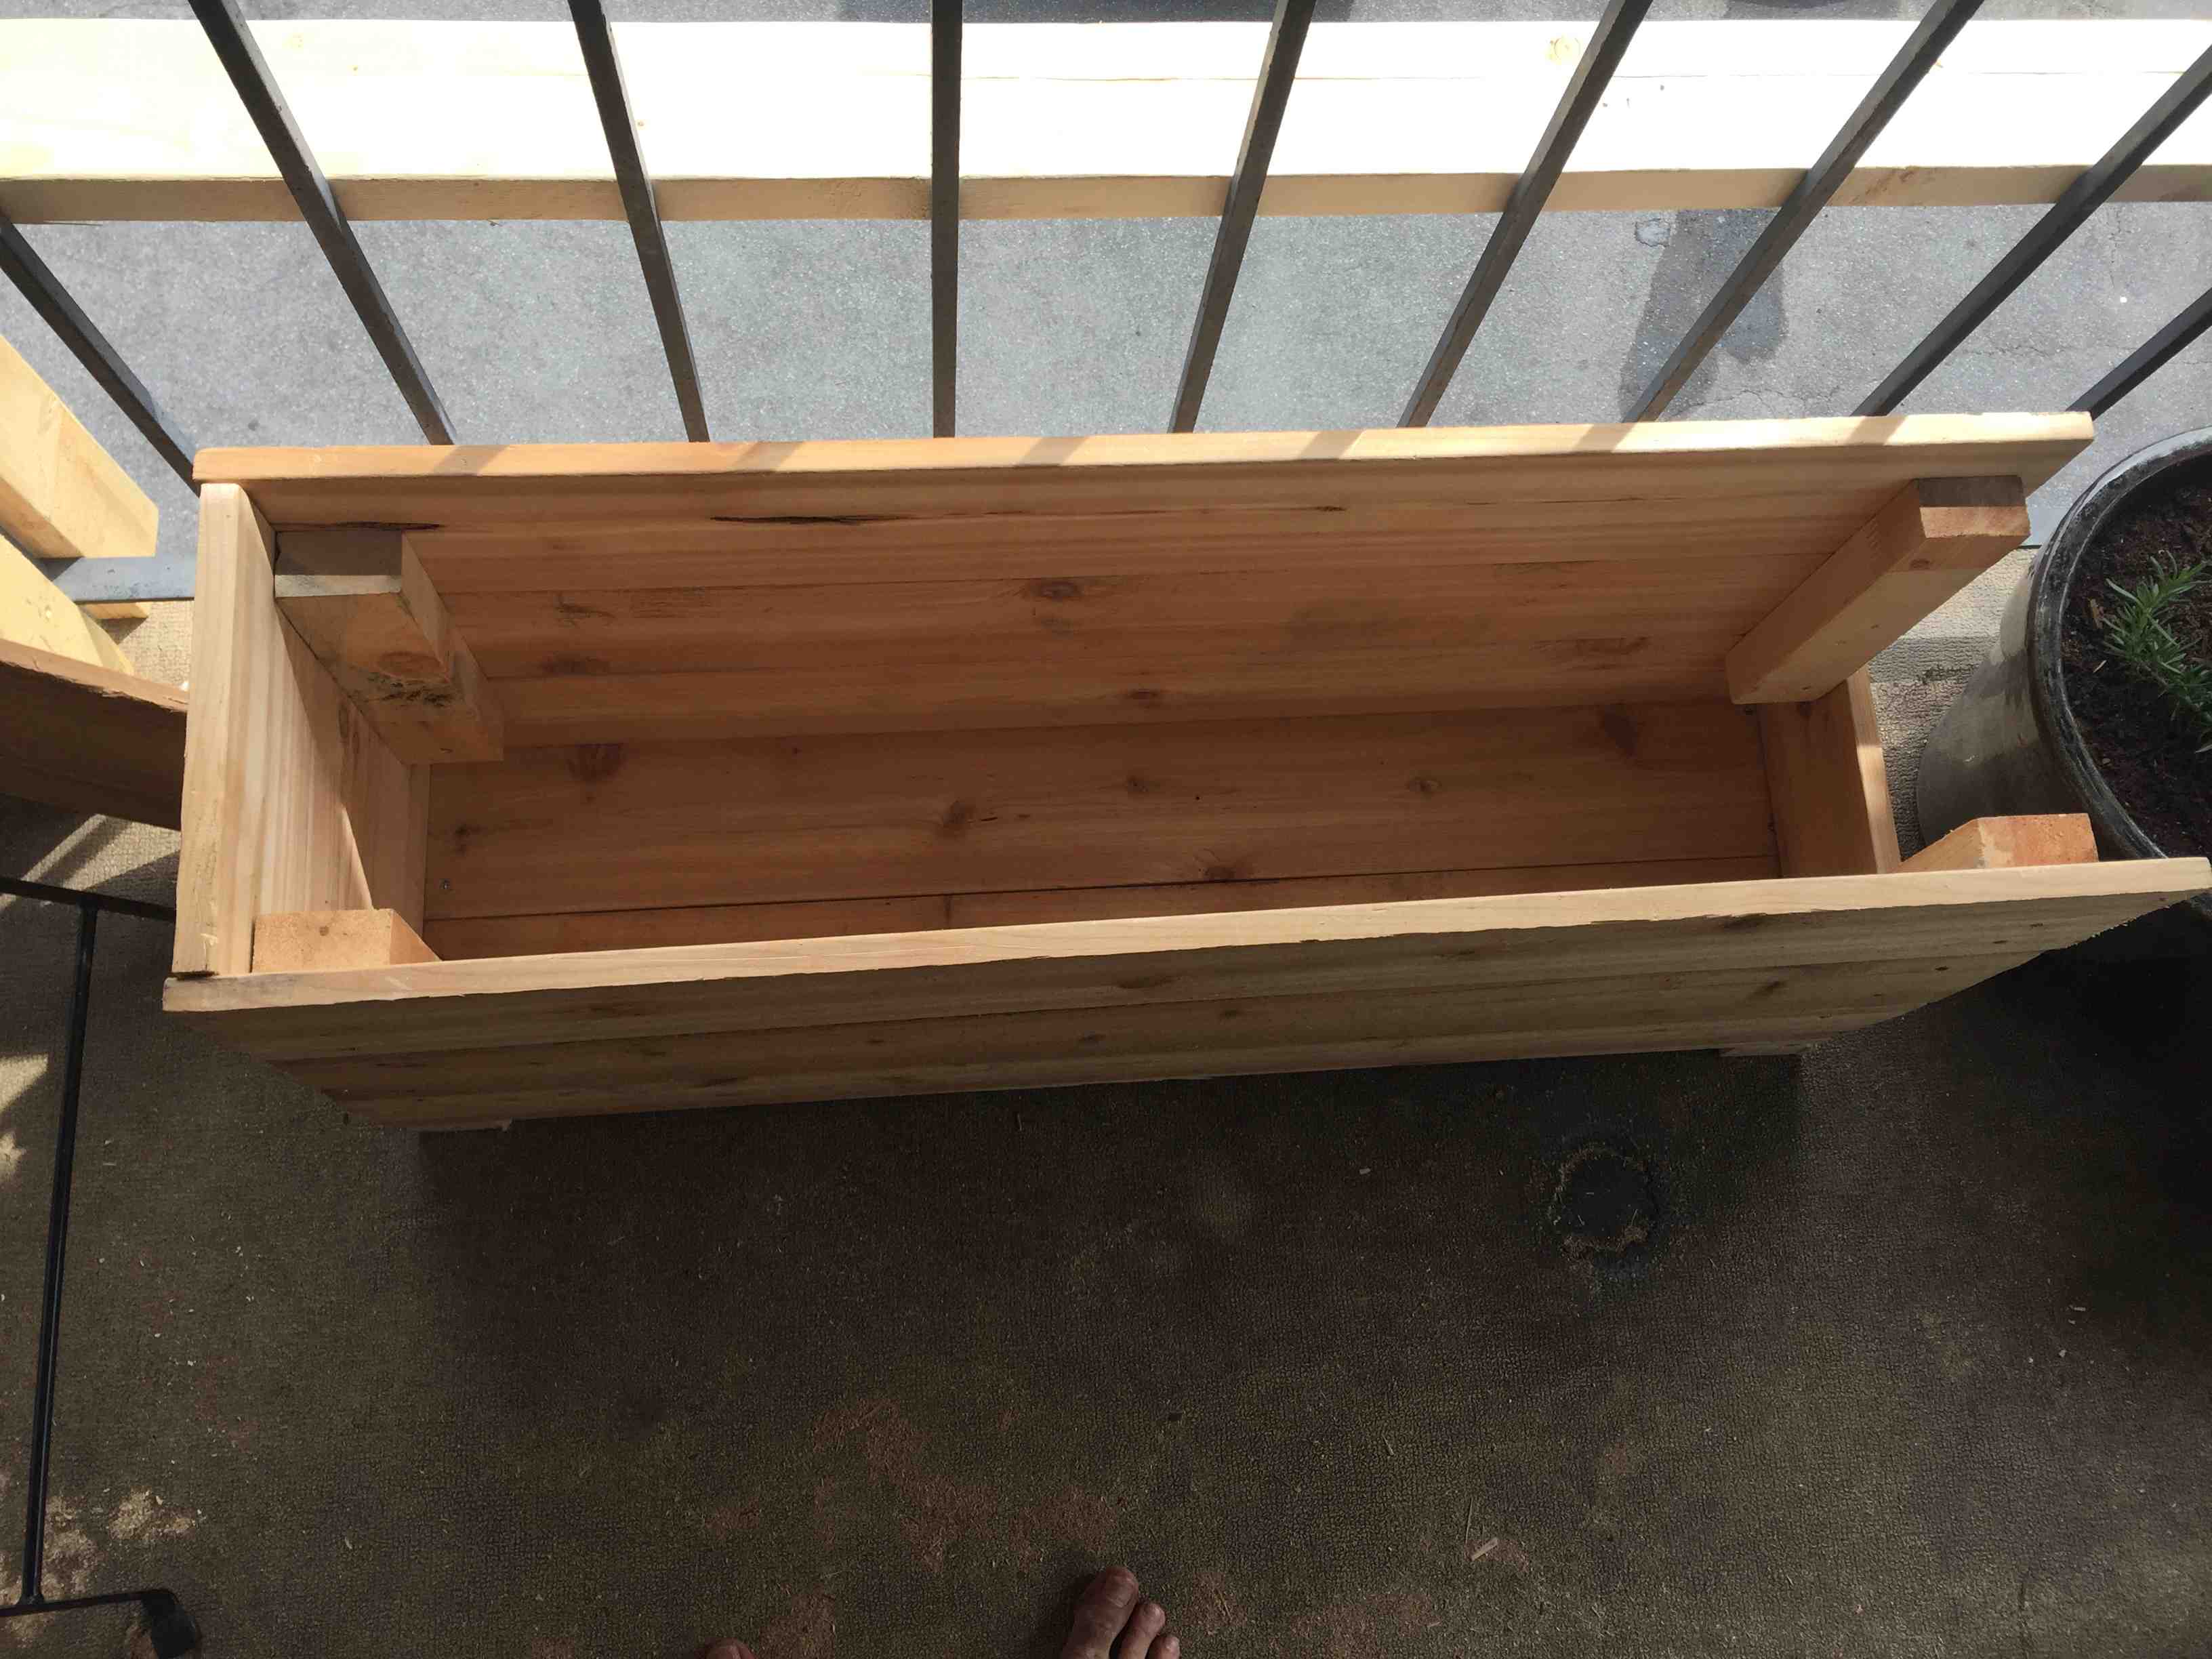
Chris Gordon framed out the planter box. The basin will be the bottom part.
Next step (photo below) – line the bottom with waterproof pond liner. This stuff is thick and tough and completely water proof. I used a staple gun to secure it. That tube there is the drainage hole so that you can’t overfill the planter. It is critical that the height of the drainage hole is just under the height of the containers (containers to come). Also – make sure you caulk that tube on the pond liner to make it waterproof. You do NOT want water leaking into the wood below. That will just constantly leak out the bottom.

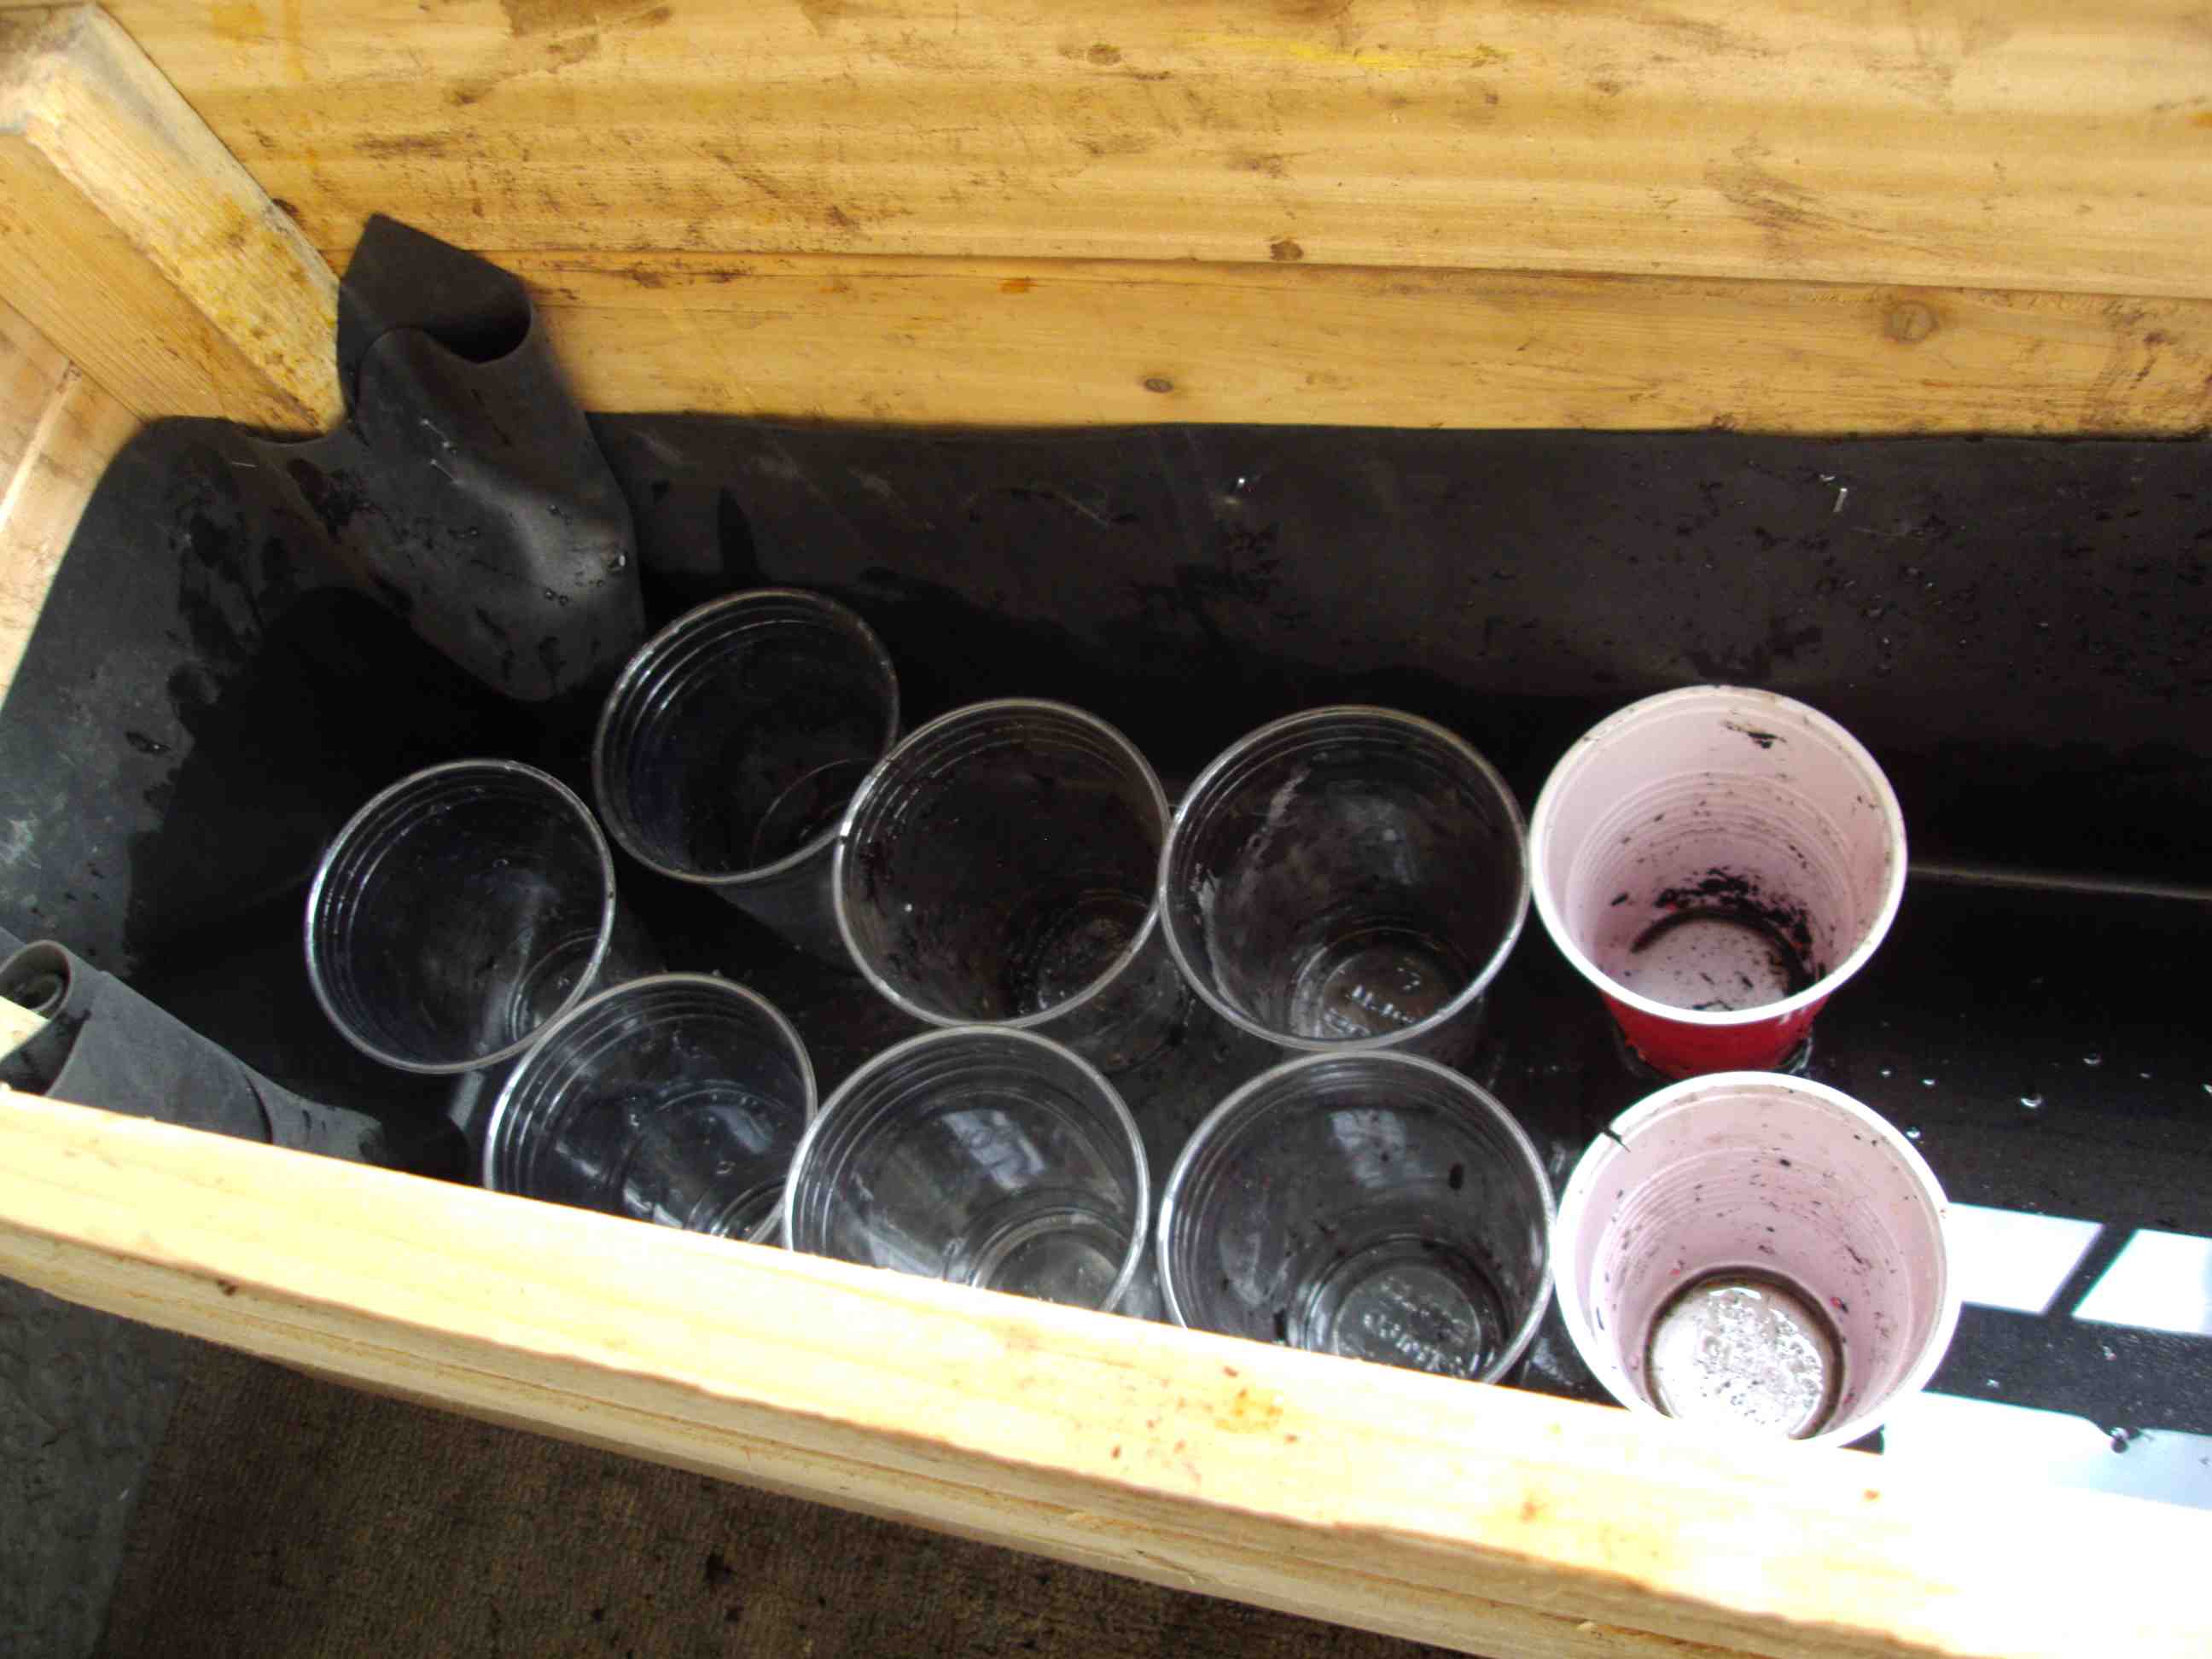
Below is the concept with the containers (I’m using plastic cups). The mesh sits on top and keeps dirt out, but there are holes in the mesh into some of the cups. Those cups are filled with dirt and are connected to the soil above. On top of the mesh goes landscape cloth as well, which keeps dirt out of the basin (not photographed, whoops).
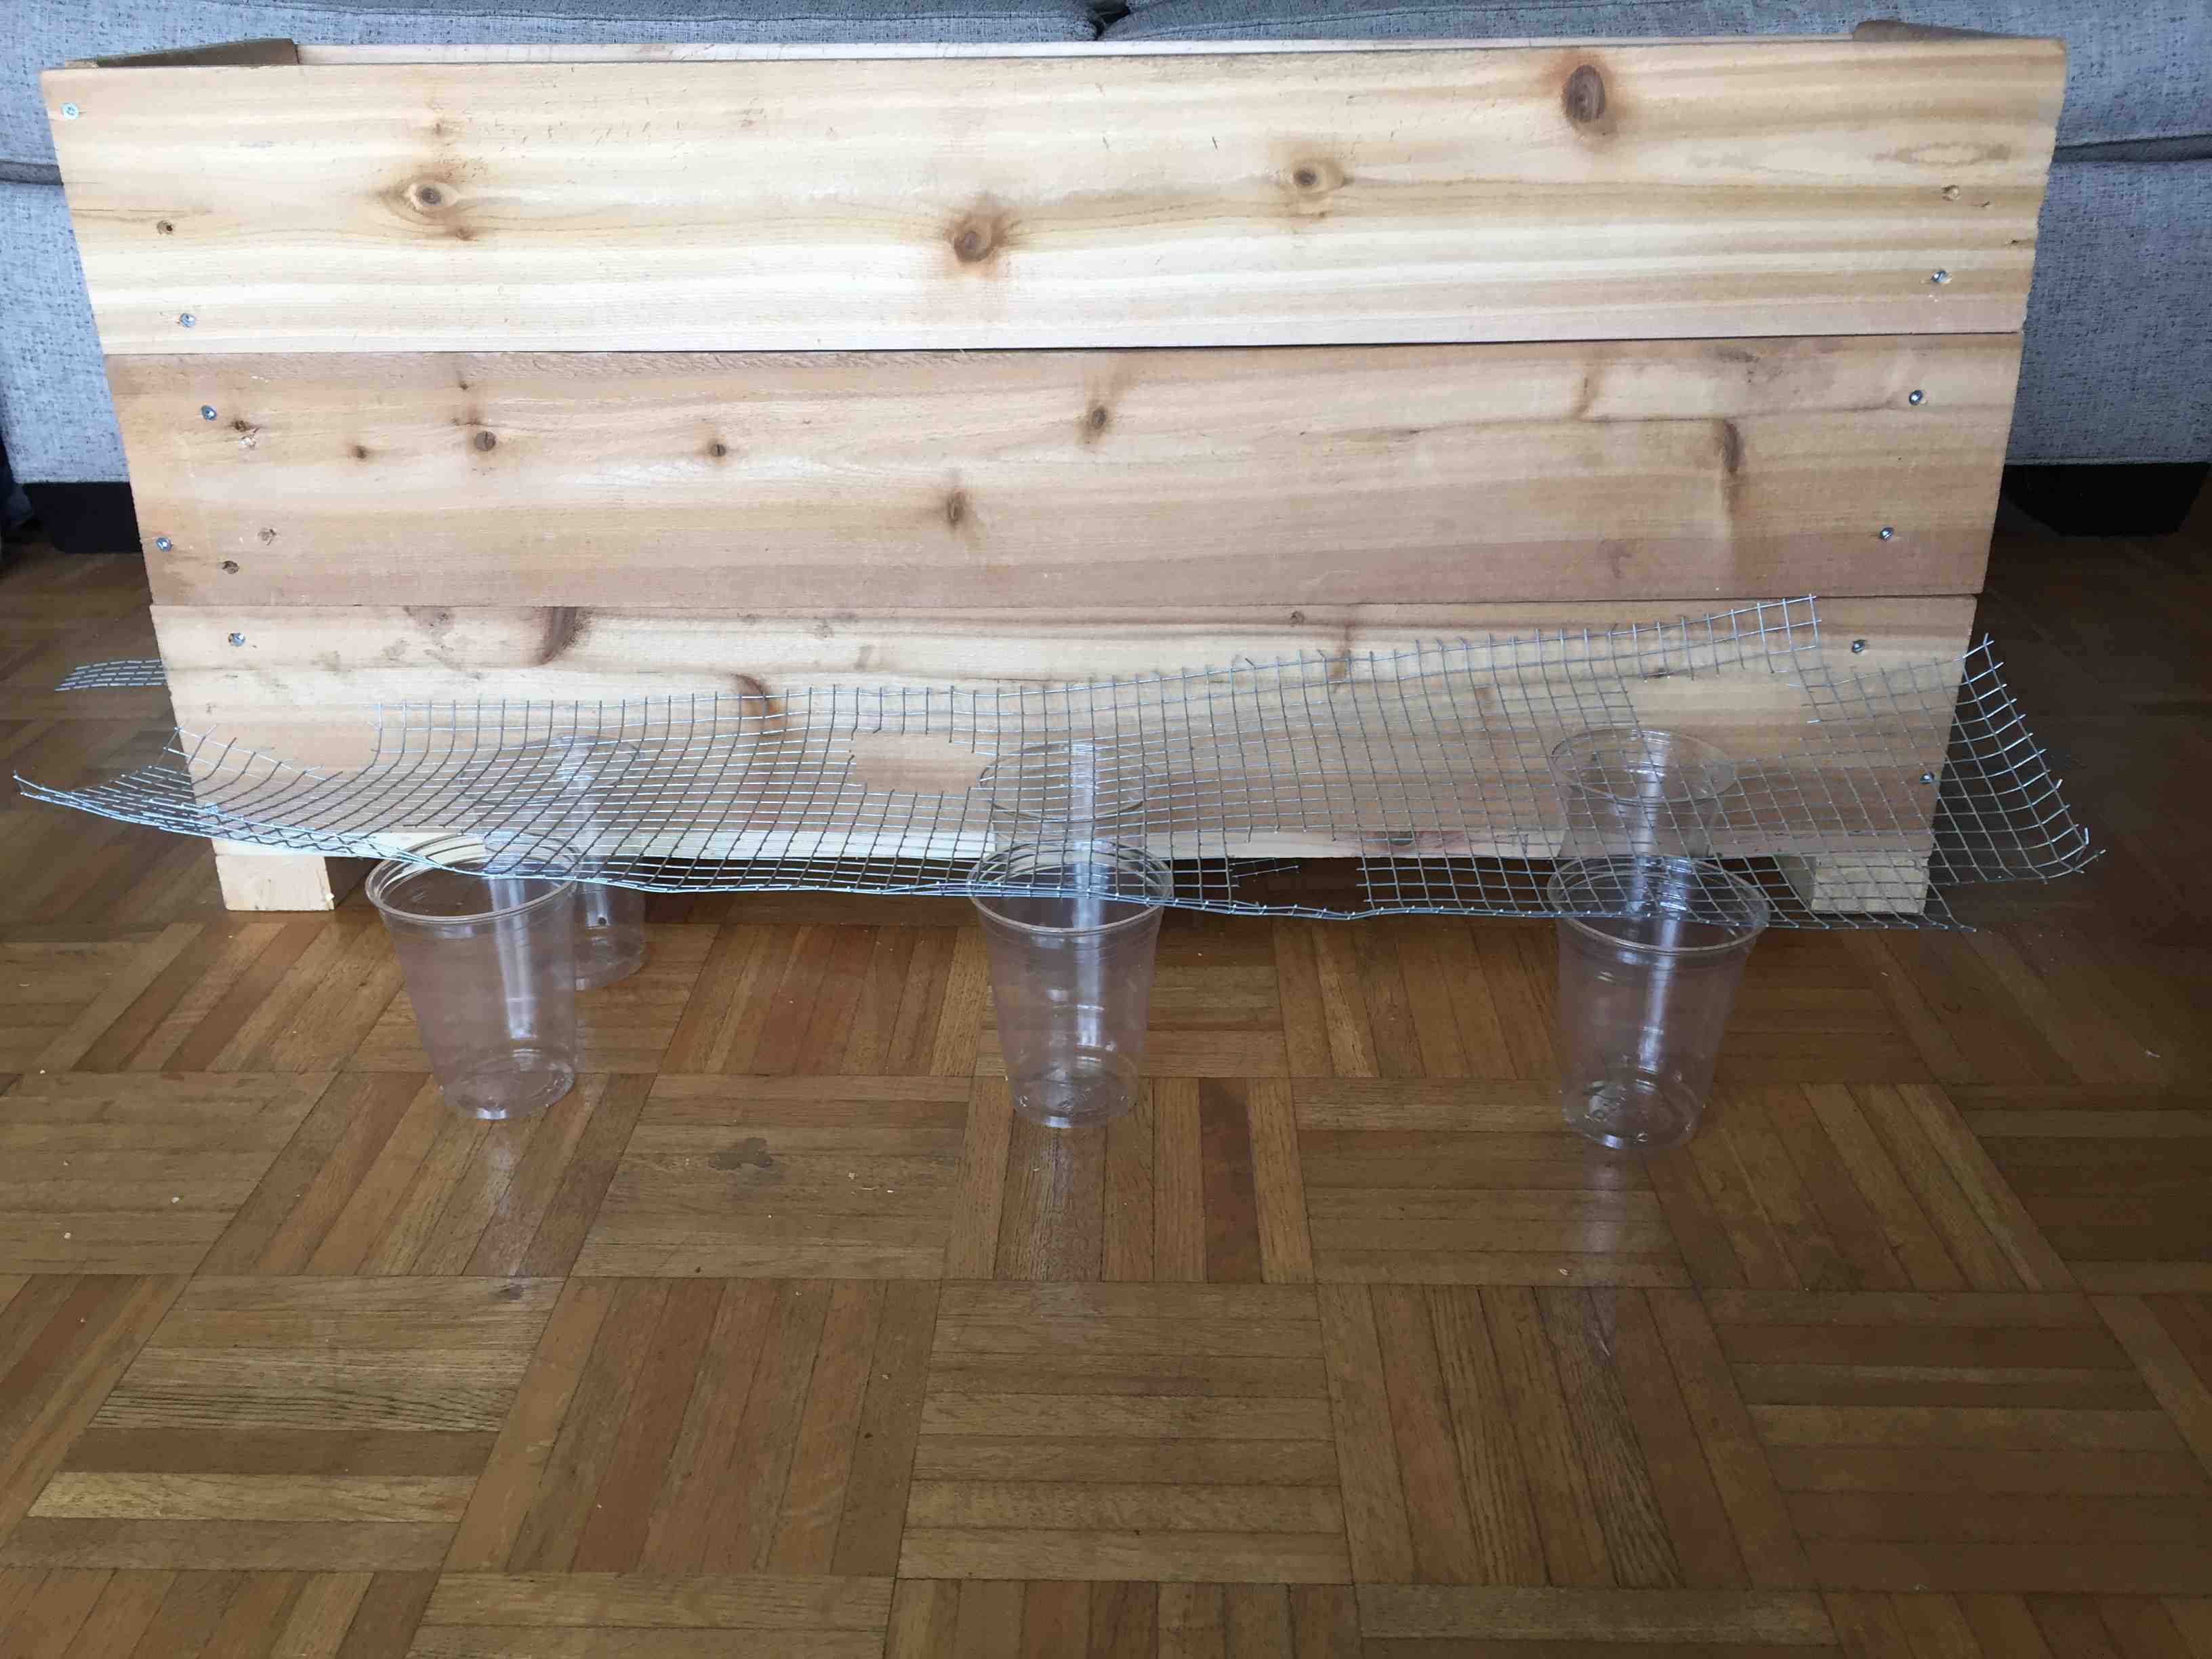
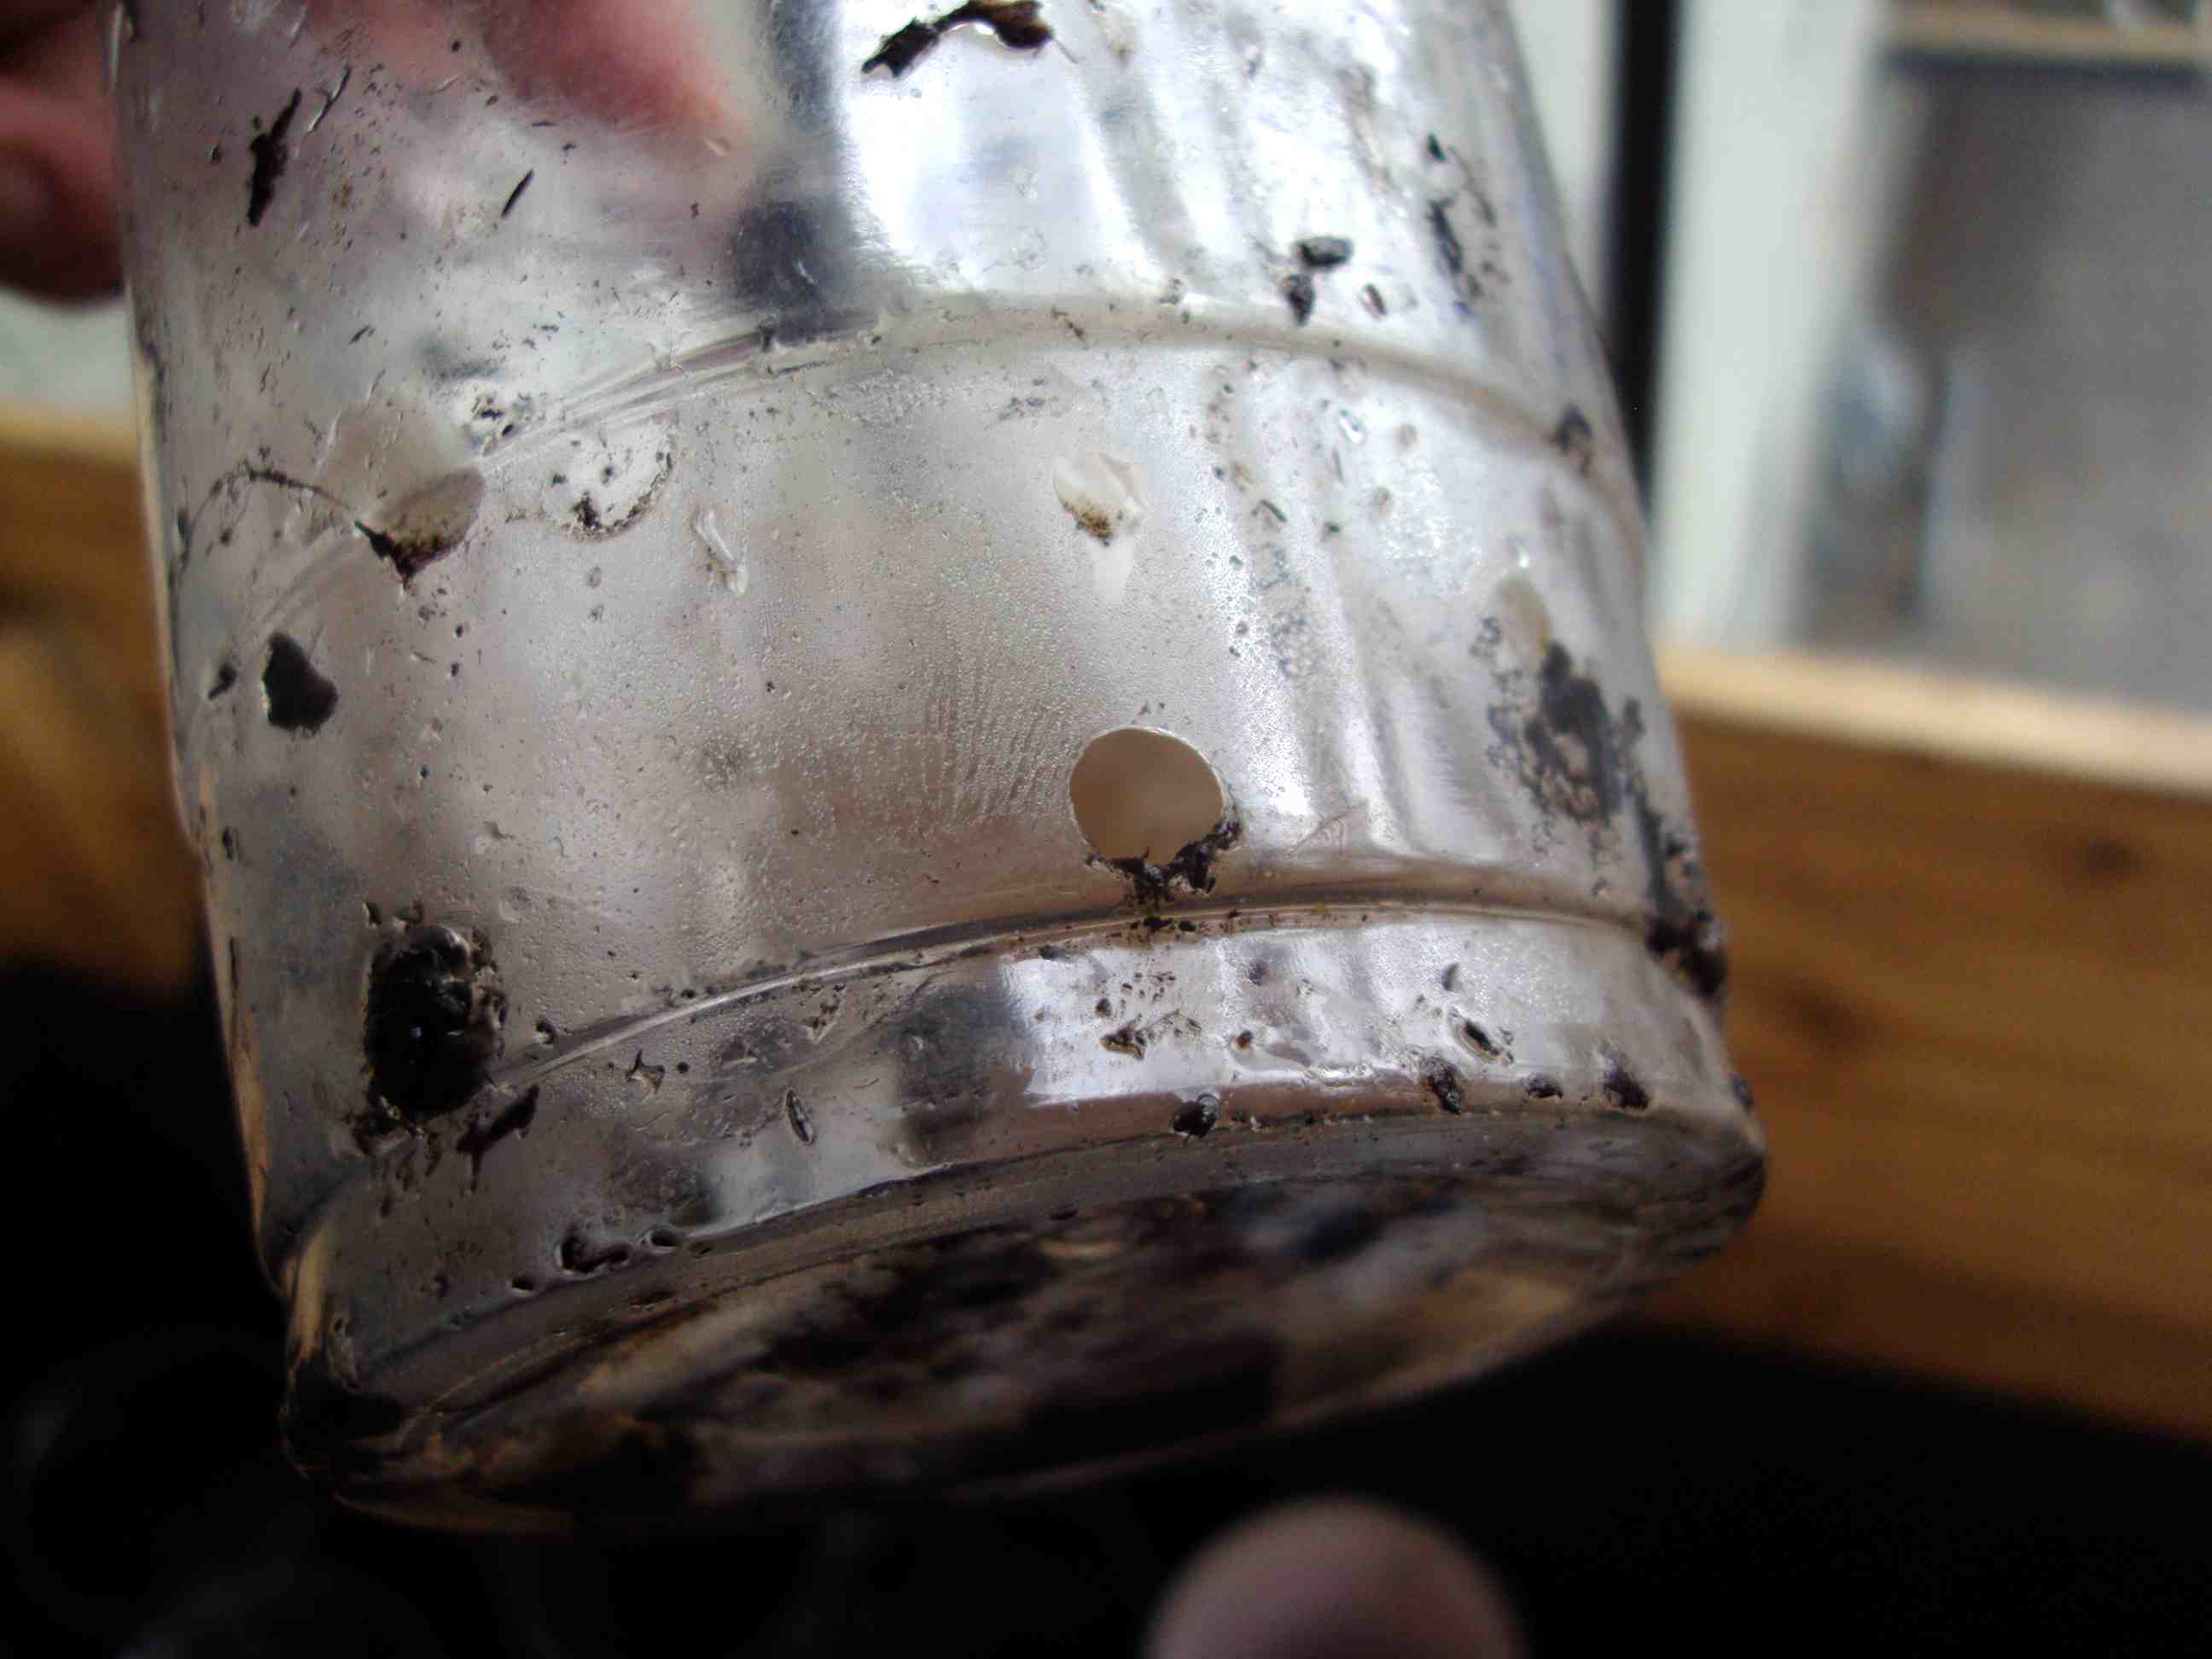
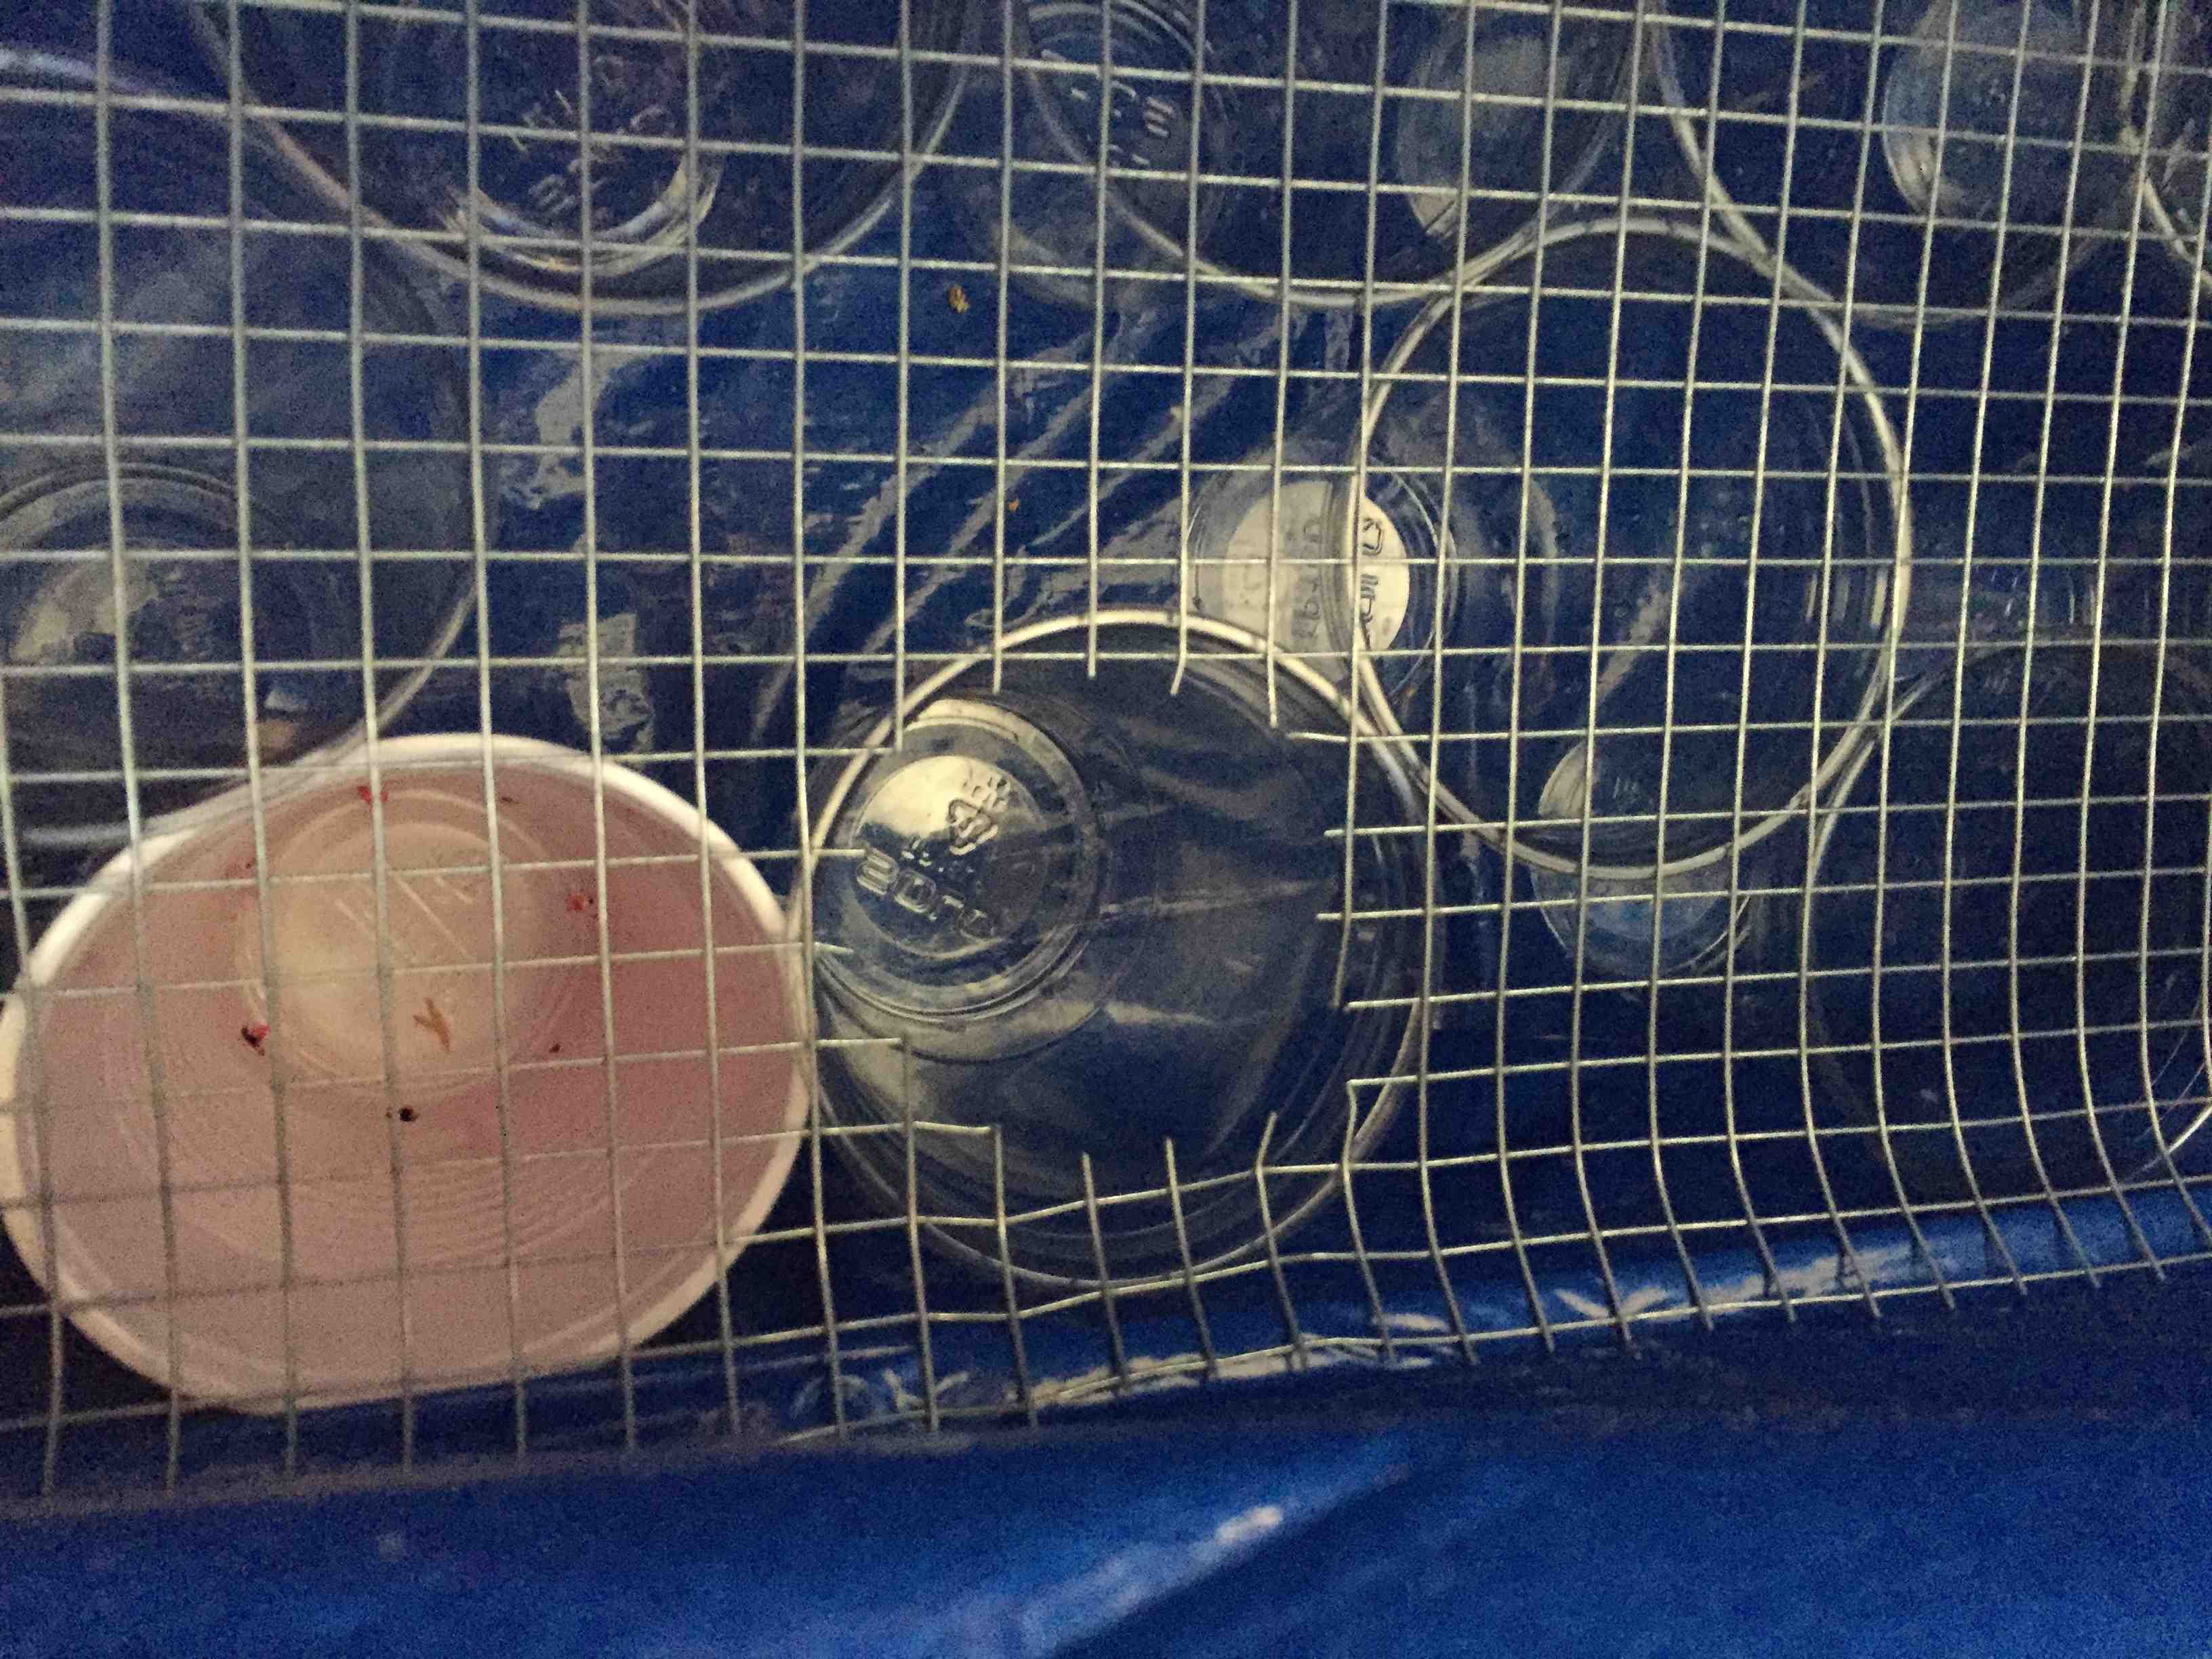
Now check out the bottom of these containers/cups. That’s how water gets into the dirt contact points.
Then we load up the basin with the cups/containers. Only four of these will have dirt in them, and thus holes in the mesh and cloth above. The rest just provide a surface for the mesh, and make sure that the cups don’t move around. Note: I filled the whole basin with cups. For some reason I decided to photograph prematurely.
The mesh goes on top of the cups, with holes in a few spots for the contact points. Note: I used pond liner, not tarp (the blue), but we tried and failed with tarp first, and that’s why you see it here. Don’t use tarp! Use pond liner!
Also – landscape cloth with the same holes on top of the mesh. I forgot to photograph that too 😉
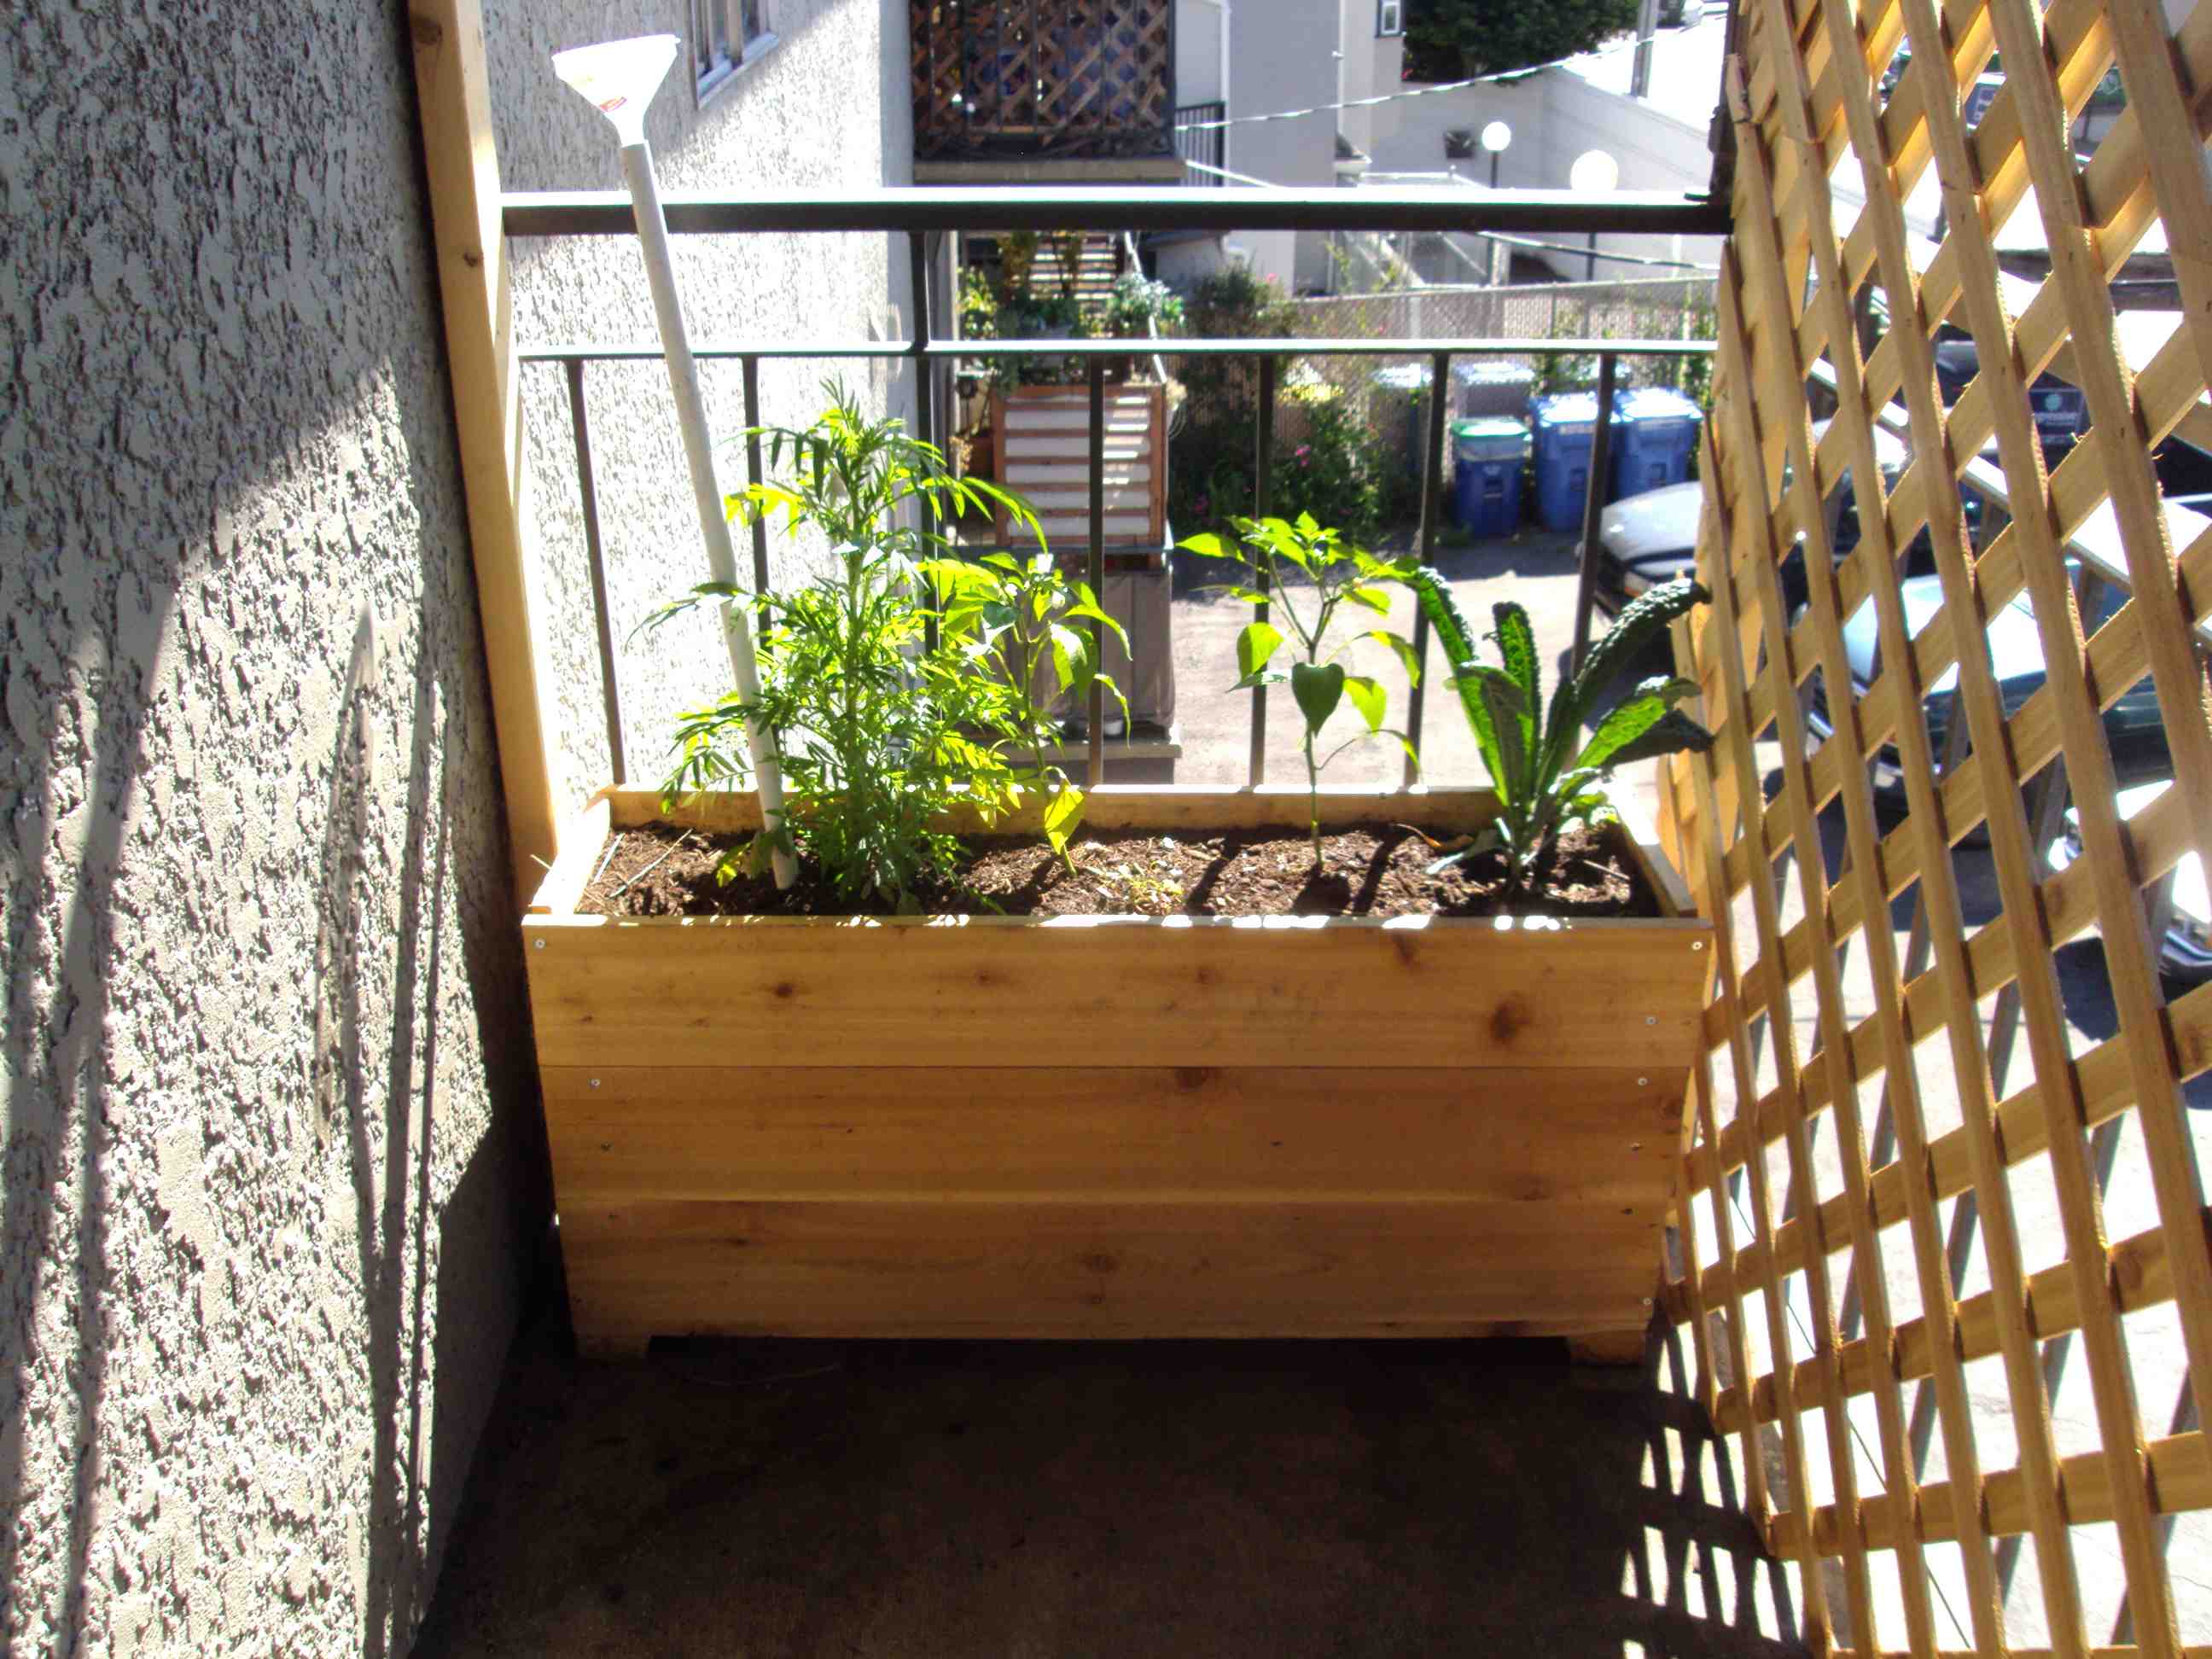
Cut a hole in the cloth/mesh just big enough for a tube, and put that tube down into the basin. Put a funnel on top, and now you can directly fill the basin! Then, fill with soil, and plant things!
Note: If you fill too much, water will come out the side through the drainage tube shown above. That’s how you know it’s full! I drilled a hole in the wood to let the tube through.
OK – hope that makes sense. If not, here is Jesse’s video on youtube:
Happy Planting,
Graham
This is a very helpful and practical post of how to build this lovely self-wicking planter.
thanks!
You are welcome, sir! I’m glad you enjoyed it.